
Oyster Mushroom Grow Kits: A Beginner's Guide
Grow oyster mushrooms from a kit: bright spot out of direct sun, 13–24 °C (55–75 °F), mist daily, harvest at 5 cm (2 in). Plus fixes and wild look-alikes.
 By Flori editorial team · Updated
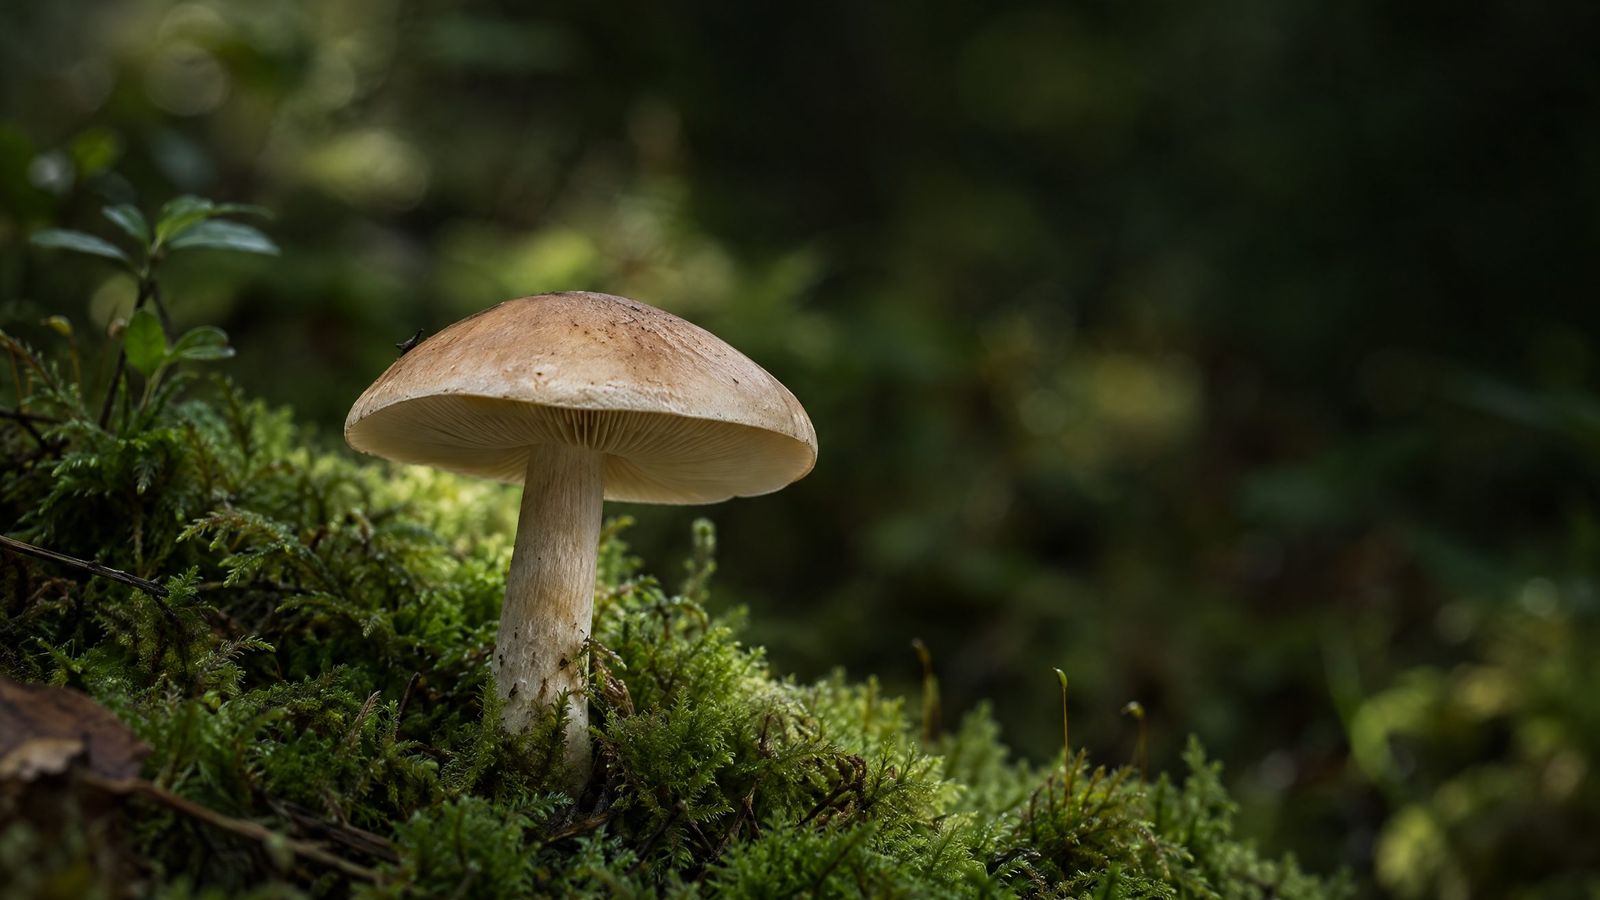
An oyster mushroom kit is a bag of straw already colonised by mushroom mycelium. Put it in a bright room out of direct sun at 13–24 °C (55–75 °F), open it as instructed, mist several times a day without soaking, and harvest when caps reach about 5 cm (2 in). Never use it to judge wild oysters.
Key takeaways
- A kit is the easiest way to start; mushrooms are often ready a week to 10 days after fruiting begins.
- Keep the kit bright but out of direct sun, at 13–24 °C (55–75 °F), and mist instead of soaking.
- Long stems with small caps mean too little light; no pins after 4–5 weeks calls for a day or two in the fridge.
- Some oyster species, such as golden oyster, are invasive; choose your kit with care.
- Never pick wild 'oysters' based on a kit, photo or app: poisonous mushrooms are easily mistaken for edible ones.
What is an oyster mushroom grow kit?
An oyster mushroom grow kit is the easiest way to grow mushrooms at home: a bag of straw or similar material that is already full of oyster mushroom mycelium (Pleurotus ostreatus, the fungus's root-like network), ready to fruit on your kitchen counter. UF/IFAS Extension calls a cultivation kit the easiest way to start, and says kit mushrooms are often ready in about a week to 10 days once fruiting begins. This guide walks through the set-up, the daily routine, a troubleshooting table, and one rule that matters more than any of it: growing oysters from a kit does not teach you to recognise wild ones. The mushrooms from your kit come from a known culture; anything that looks like an oyster on a tree outside does not.
What is inside the kit?
According to UF/IFAS, an oyster kit is mycelium that has colonised a block or tower of straw inside a perforated plastic bag; mushrooms form on the outside of the bag. Some kits are fully colonised and ready to fruit when they arrive; others still need a few weeks in the dark first. The instructions vary by product, so read yours before you open anything, and follow it where it differs from the general steps below.
One thing to check before you buy: UF/IFAS warns that some oyster species are invasive, naming the golden oyster mushroom (Pleurotus citrinopileatus), so be mindful when choosing a kit. If you plan to put the spent block in the garden afterwards, a species that is not invasive where you live is the safer choice.
How do you grow oyster mushrooms from a kit?
These steps follow UGA Extension's home-growing instructions for oyster kits:
- Incubate (if your kit needs it). Keep the bag in a dim or dark, cool place at 16–21 °C (60–70 °F) for 2–3 weeks, until white mycelium has colonised it. Skip this if the kit arrives fully white and ready to fruit.
- Open the bag. Cut the slits or open the window your kit describes. If baby mushrooms (pins) form under the plastic, slit it carefully to free them.
- Move it into the light. Put the kit in a well-lit room, out of direct sunlight. Oysters tolerate a wide temperature range, but UGA advises keeping them at 13–24 °C (55–75 °F).
- Mist, do not soak. Check daily and mist several times a day, using bottled water or tap water that has stood overnight. UGA is clear: do not soak or over-wet the kit (some kits ask for a single soak at the start; follow your instructions).
- Watch them grow. Once mushrooms appear, they roughly double in size each day.
- Harvest. Pick them when the caps reach about 5 cm (2 in) across, one by one or as a whole cluster. UF/IFAS notes they taste best harvested young.
Oyster mushroom kit problems: symptom, cause and fix
| What you see | Likely cause | What to do |
|---|---|---|
| No pins after 4–5 weeks | The kit has not been triggered to fruit | UGA suggests refrigerating it (not freezing) for a day or two, then misting and starting again |
| Long stems with small caps | Not enough light | Move to a brighter room, still out of direct sun |
| Pins forming under the plastic | No opening where they want to grow | Carefully slit the plastic to free them |
| Soggy, waterlogged block | Over-watering | Mist lightly instead of pouring or soaking |
| Mould in colours other than white, or a foul smell | Possible contamination | Do not eat anything from that kit; contact the seller |
How many harvests do you get?
After the first harvest, UGA suggests storing the kit in a dark room for 2–3 weeks, then repeating the misting routine. The second flush usually produces fewer mushrooms. When the kit stops producing, add it to the compost or dig it into the garden. A spent block can even sprout a few mushrooms outdoors; treat anything that appears there with the same caution as wild mushrooms, because once a block is outside you can no longer be sure what is growing on it.
Is it safe to eat kit-grown oyster mushrooms?
Mushrooms from a reputable kit are a cultivated food crop, sold to be eaten. Two cautions still apply. First, eat only mushrooms that grew from the kit itself, not something that appeared beside it. Second, the North American Mycological Association (NAMA) lists the oyster mushroom group among species that can cause stomach upset in susceptible people, with symptoms starting up to 5 hours after eating. If you have never eaten oysters before, start with a small portion, and follow the cooking advice in your kit's instructions.
Can you pick wild oyster mushrooms instead?
No, not based on what a kit teaches you, a photo or an app. Poisonous wild mushrooms are regularly mistaken for edible ones, even by people who think they know what they are picking. NAMA describes jack-o'-lantern mushrooms (Omphalotus), whose victims thought they were picking chanterelles and developed nausea, vomiting and abdominal pain within hours. It also records an outbreak in Japan in 2004 linked to eating large amounts of angel wings (Pleurocybella porrigens), which caused a serious brain illness and over a dozen deaths among people with chronic kidney failure. Smell, colour, insects, peeling the cap or a silver spoon prove nothing; these are myths. Flori can suggest what a wild mushroom might be from a photo, which is useful for learning, but no app can tell you a wild mushroom is safe to eat. Our guide to what mushroom apps can and cannot do explains why, and is it safe to pick wild mushrooms? covers going out with a local expert. If mushrooms pop up in a houseplant rather than a kit, see mushrooms growing in a houseplant pot.
What to do if someone eats an unknown mushroom
If anyone, including a child or a pet, eats a wild mushroom or one you cannot vouch for, call a poison line now. Do not wait for symptoms:
- Türkiye: UZEM 114 (Ulusal Zehir Danışma Merkezi)
- United States: Poison Control 1-800-222-1222
- United Kingdom: NHS 111
- Pets: your vet, or the ASPCA Animal Poison Control Center in the US
Keep a sample of the mushroom in a paper bag in the fridge and take a photo, so specialists can identify it. Feeling fine is not reassurance: NAMA explains that with the most dangerous Amanita species, symptoms are delayed for 6 to 24 hours, and the patient may appear to recover before liver damage shows. The mushroom poisoning symptoms guide has the full timeline. Do not try home remedies; follow the poison line's advice.
Frequently asked questions
How long does an oyster mushroom kit take?
If the kit needs incubating, allow 2–3 weeks in the dark first. Once it starts fruiting, UF/IFAS says mushrooms are often ready in about a week to 10 days.
Why are my oyster mushrooms growing long stems and tiny caps?
UGA Extension links long stems and small caps to too little light. Move the kit to a brighter room, but keep it out of direct sunlight.
Can I get more than one harvest from a kit?
Usually yes. Rest the kit in a dark room for 2–3 weeks after the first harvest and restart misting; the second flush is normally smaller.
Are wild oyster mushrooms safe to pick?
Do not pick any wild mushroom to eat based on a kit, a photo or an app. Poisonous species are easily mistaken for edible ones; only a local expert who examines the mushroom in person can help.
Sources
Written and fact-checked by the Flori team. Every guide cites horticultural sources such as the RHS, university extension services and the ASPCA, and is updated when the advice changes.
General plant care information. Plants vary; when a plant is valuable or a problem spreads quickly, consult a local nursery or plant specialist.