Repotting a Plant Step by Step
How to repot a plant step by step: what you need, how to free a stuck root ball, loosen roots, set the depth and water in, plus the first weeks after.
 By Flori editorial team · Updated
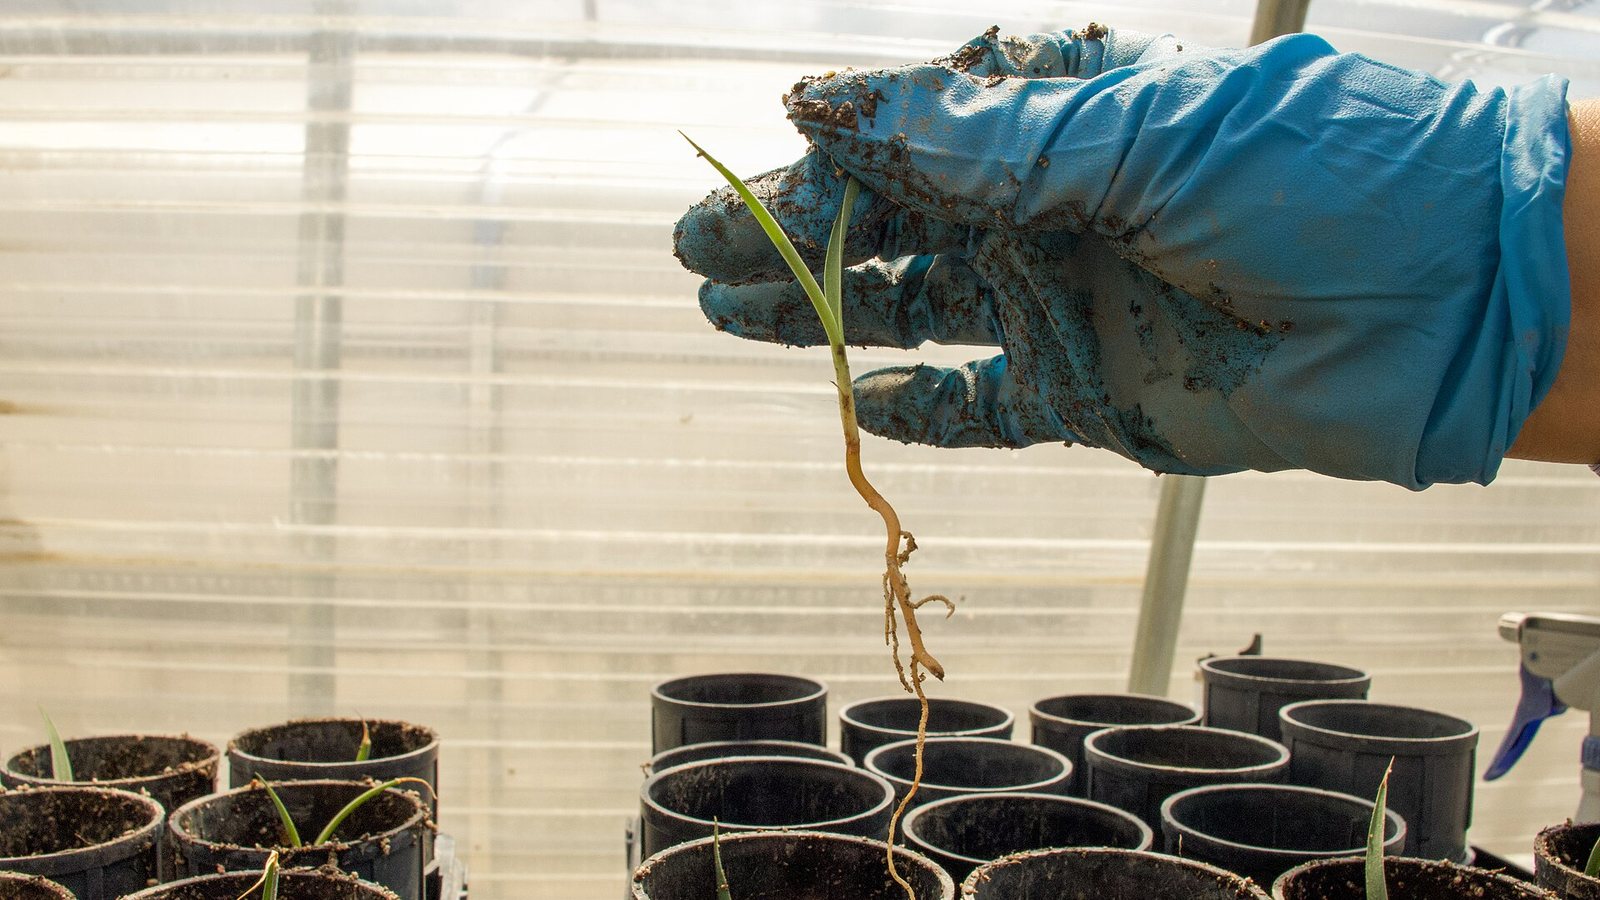 Photo: Joshua Tree National Park · Public domain
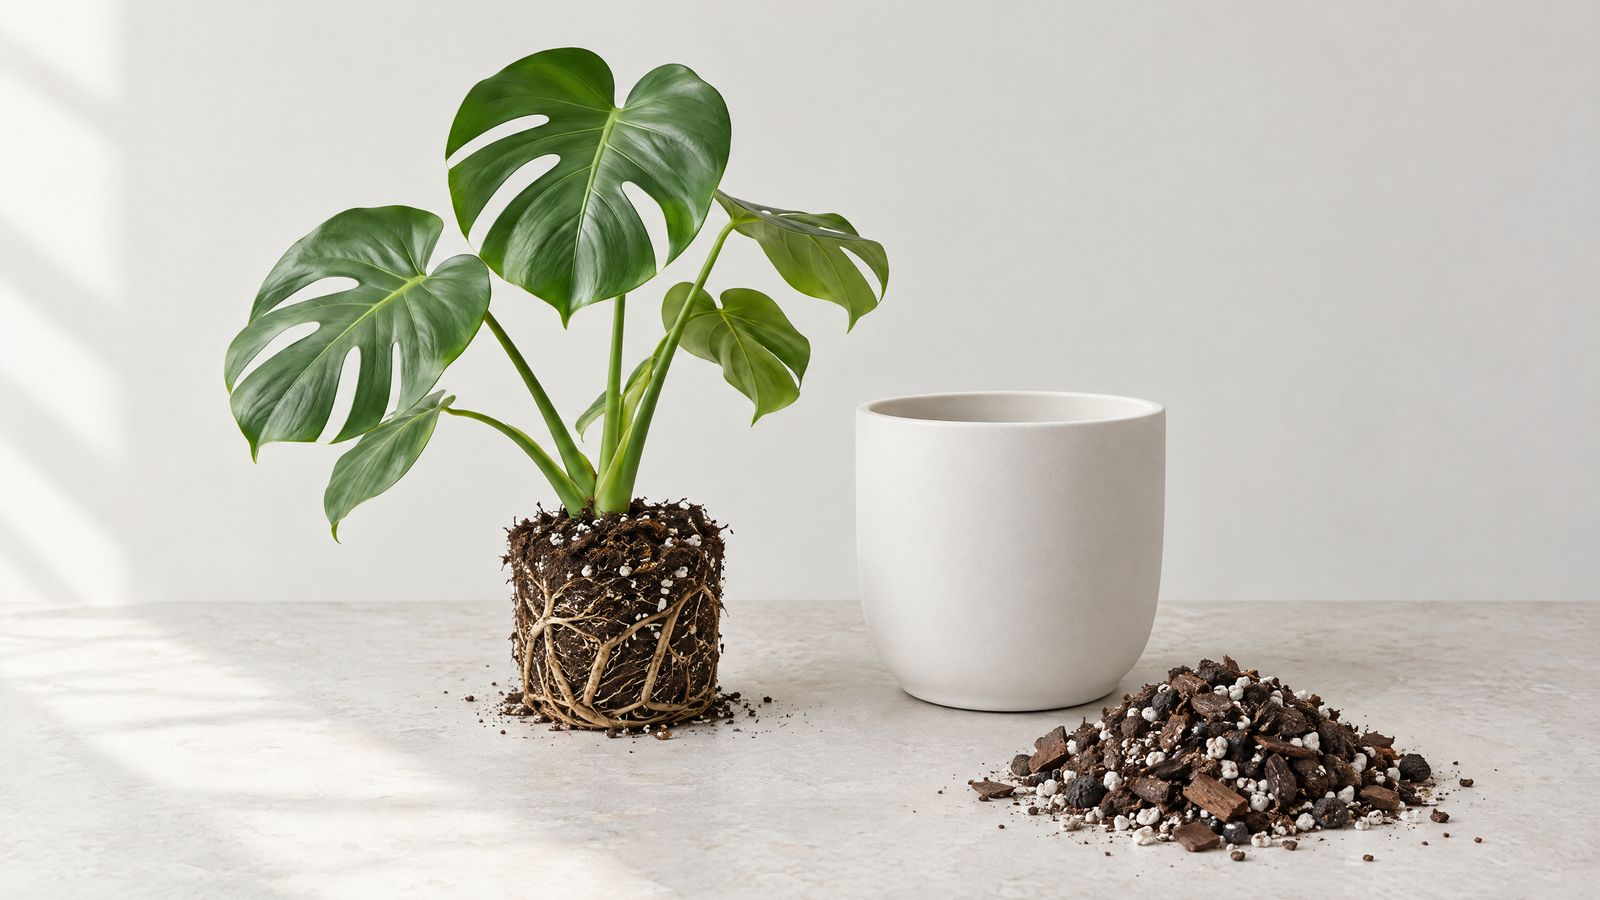
To repot a plant, cover the drainage hole of a pot 2.5–5 cm (1–2 in) wider, add a layer of fresh mix, knock the plant out, trim rotten roots and loosen circling ones. Set it at its old depth about 2.5 cm (1 in) below the rim, fill around the sides, settle the mix and water until it drains.
Key takeaways
- Have the pot, fresh mix, scissors and a knife ready before the plant comes out.
- Cover a large drainage hole, but skip the gravel layer: it slows drainage.
- Dry compost slides out more easily; knock the rim or run a knife round a stuck pot.
- Trim black, mushy roots, tease out circling ones and keep the plant at its old depth.
- Water until it drains, repeat for peat-based mixes, then check before each watering.
On this page9
How do you repot a plant, step by step?
You have decided your plant needs a bigger pot. This guide is the hands-on part: what to put on the table before you start, how to get a stubborn plant out of its pot, what to do with the roots, how deep to set it and how to water it in. It follows the same method used by Colorado State, Clemson and Illinois extension services and the Royal Horticultural Society (RHS), with the details they agree on. If you are still deciding whether and when to repot, read repotting houseplants without stress first; that guide covers timing, root-bound signs and pot choice in depth.
In short: repot while the plant is actively growing, which for most houseplants means spring or early summer, and go up only one pot size.
What do you need to repot a plant?
Gather everything first, so the roots are not drying out on the table while you hunt for scissors. Work over newspaper, a tray or outdoors.
| Item | What it is for |
|---|---|
| New pot with a drainage hole, 2.5–5 cm (1–2 in) wider than the old one | Room for new roots without a large mass of wet compost |
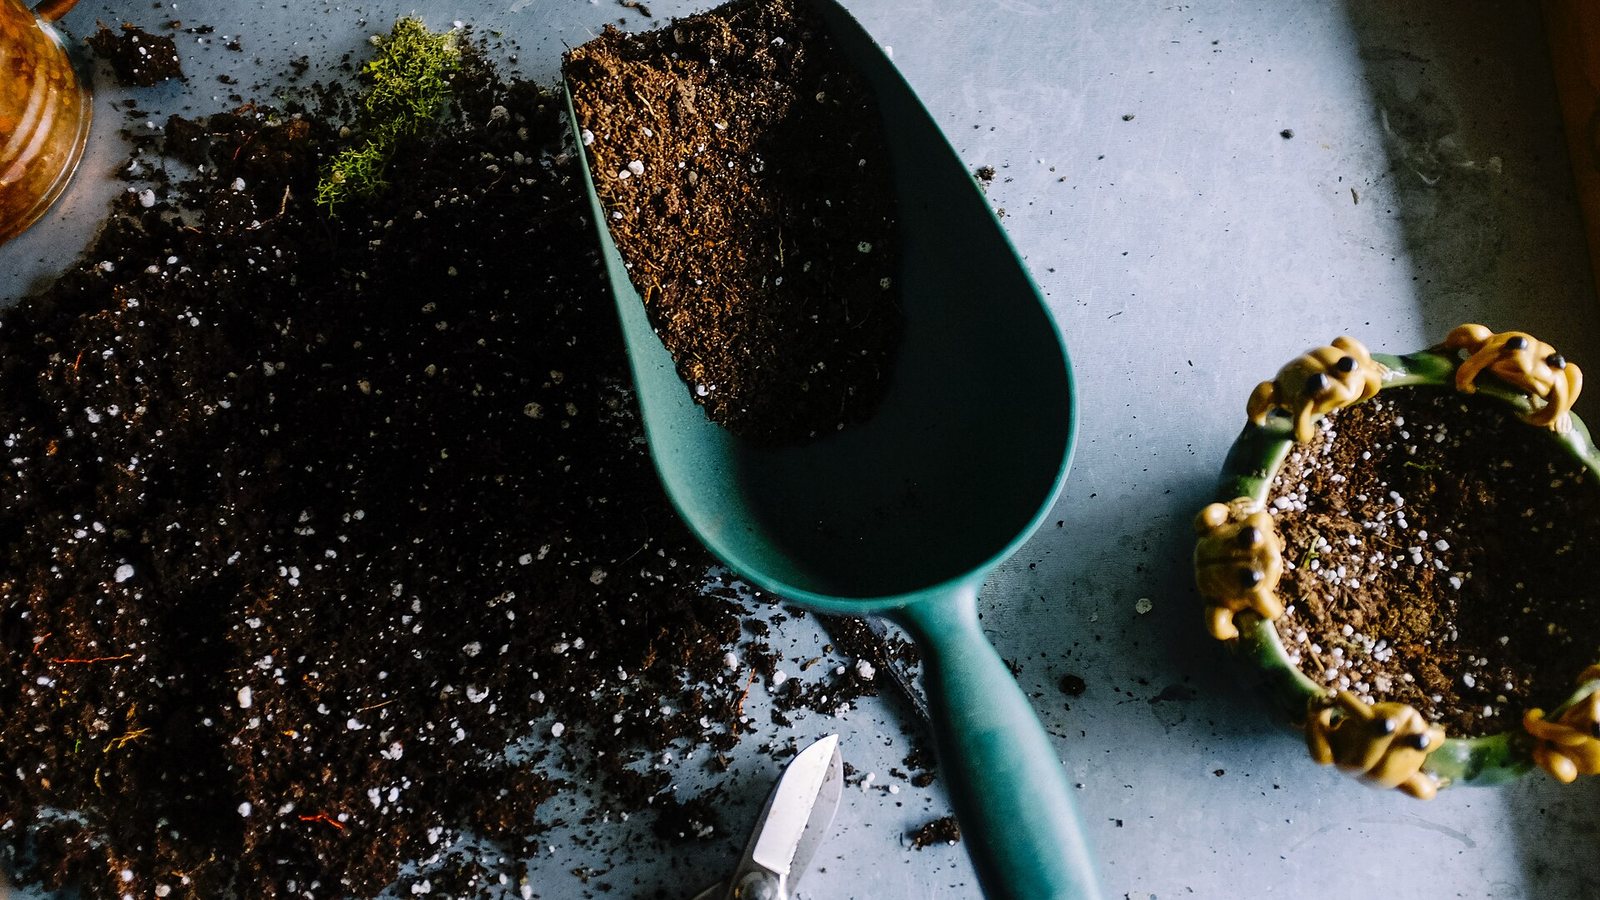
| Fresh potting mix suited to the plant | Drainage and nutrients; never garden soil |
| A piece of broken pot, landscape fabric or a coffee filter | Covers a large drainage hole so mix does not wash out |
| Clean, sharp scissors or secateurs | Trimming rotten or circling roots |
| An old knife | Freeing a stuck root ball and scoring tight roots |
| Watering can, ideally with room-temperature water | Settling the mix after potting |
| Gloves | Spiny plants and plants with irritating sap |
Colorado State Extension recommends a good-quality potting mix of peat or a peat substitute, perlite, compost and some fertiliser, and warns against garden soil. Cacti and orchids need mixes made for them. Our guide to the best soil mix for houseplants gives recipes by plant type. If you are reusing a pot, scrub it, disinfect it with a 20% bleach solution and rinse it well with plain water, as Colorado State advises.
Step 1: Prepare the new pot
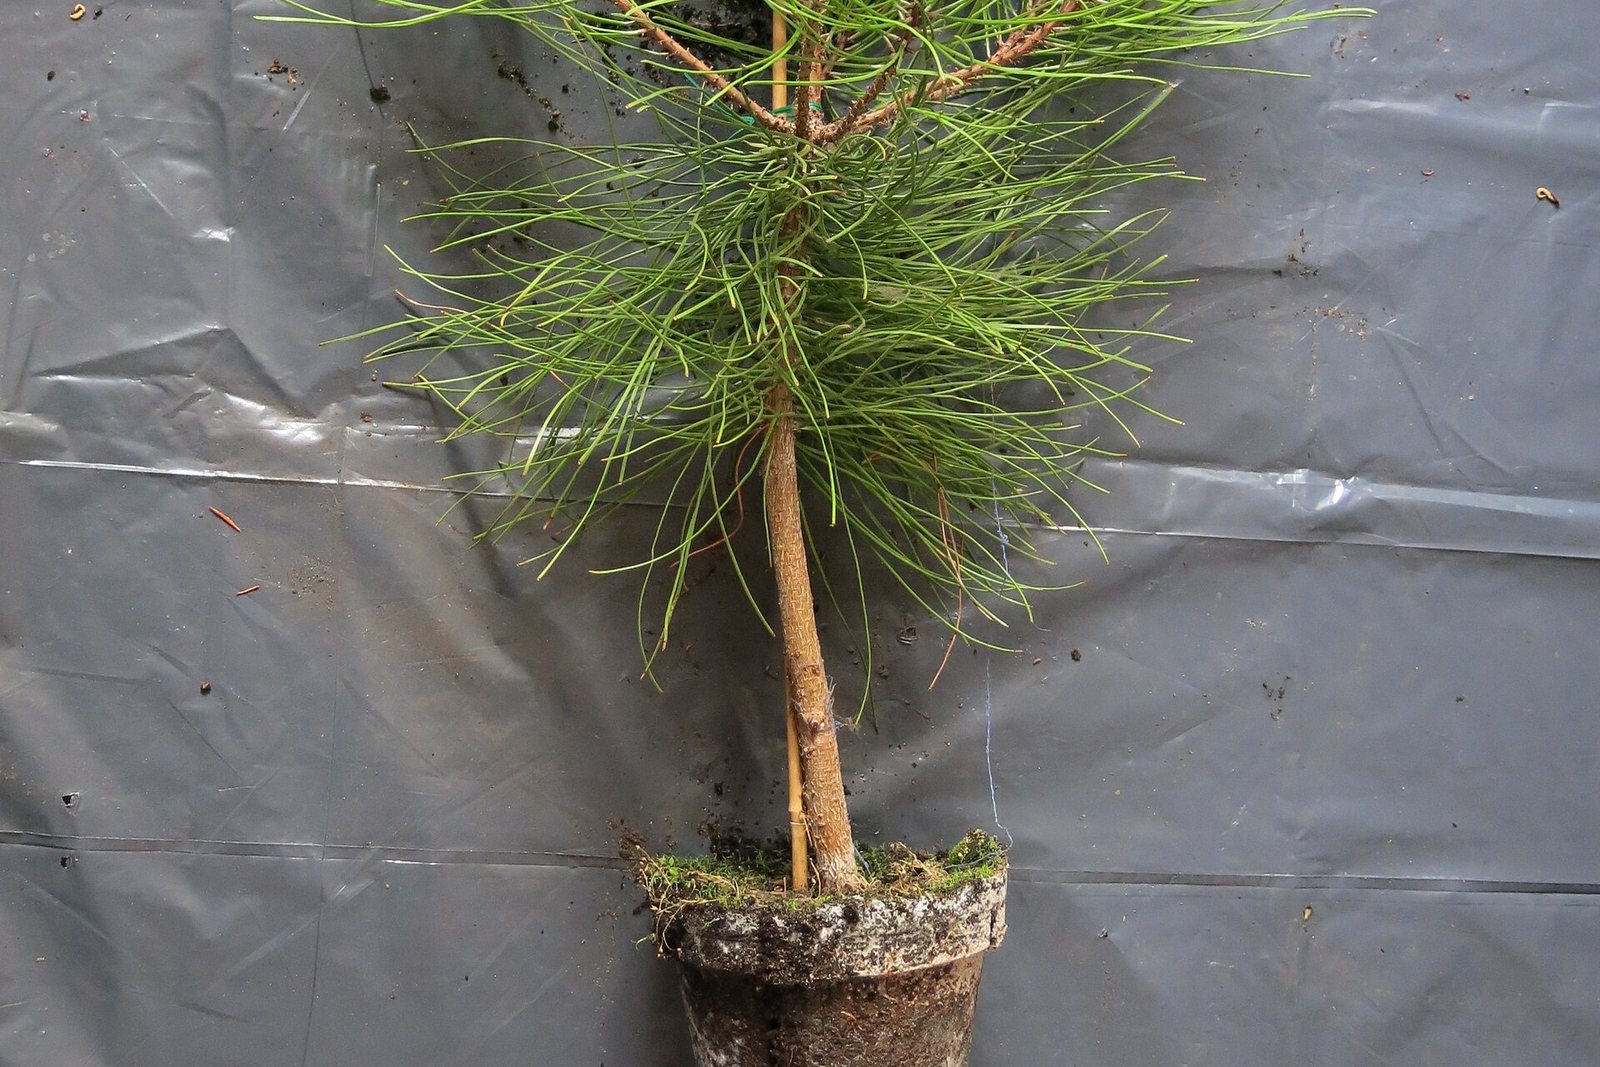
If the drainage hole is large, cover it with a shard of broken pot, porous landscape fabric or a coffee filter. Do not add a layer of gravel or crocks: Clemson Extension notes that it slows water movement through the pot rather than improving drainage. Then add a layer of fresh mix to the bottom. Hold the plant (still in its old pot) next to the new one to judge how much: the top of the root ball should end up about 2.5 cm (1 in) below the rim, leaving space to water.
Step 2: Get the plant out of its old pot
The RHS notes that a plant comes out more easily when its compost is dry and has shrunk slightly from the sides, so do not water just before you start. Spread your fingers over the compost with the stem between them, turn the pot upside down and knock its rim gently against the edge of a table or bench, as Clemson describes. The root ball should slide out into your hand.
If it will not budge:
- Plastic pot: squeeze the sides all the way round to loosen it, then try again.
- Large plant: lay the pot on its side, hold the pot down and pull gently on the sturdiest main stems, as the RHS suggests.
- Clay pot or a pot that narrows at the top: run an old knife around the inside edge. The RHS says very pot-bound plants may need a slice cut down one side of the root ball to get them out.
- Roots through the drainage hole: trim them flush with the hole rather than tearing them.
Step 3: Check and loosen the roots
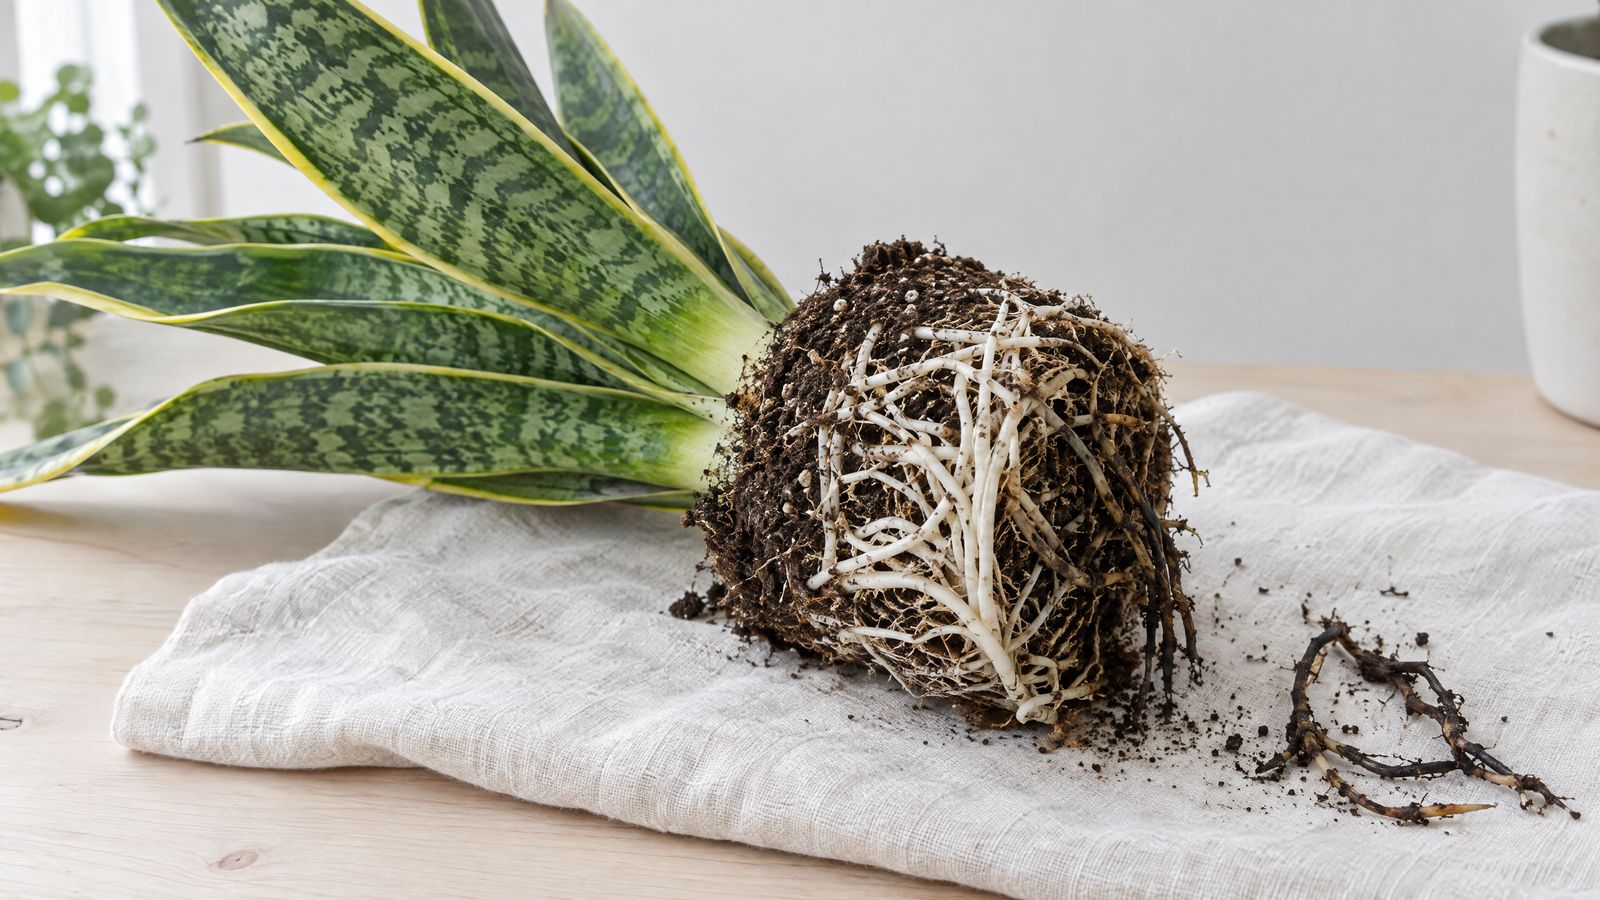
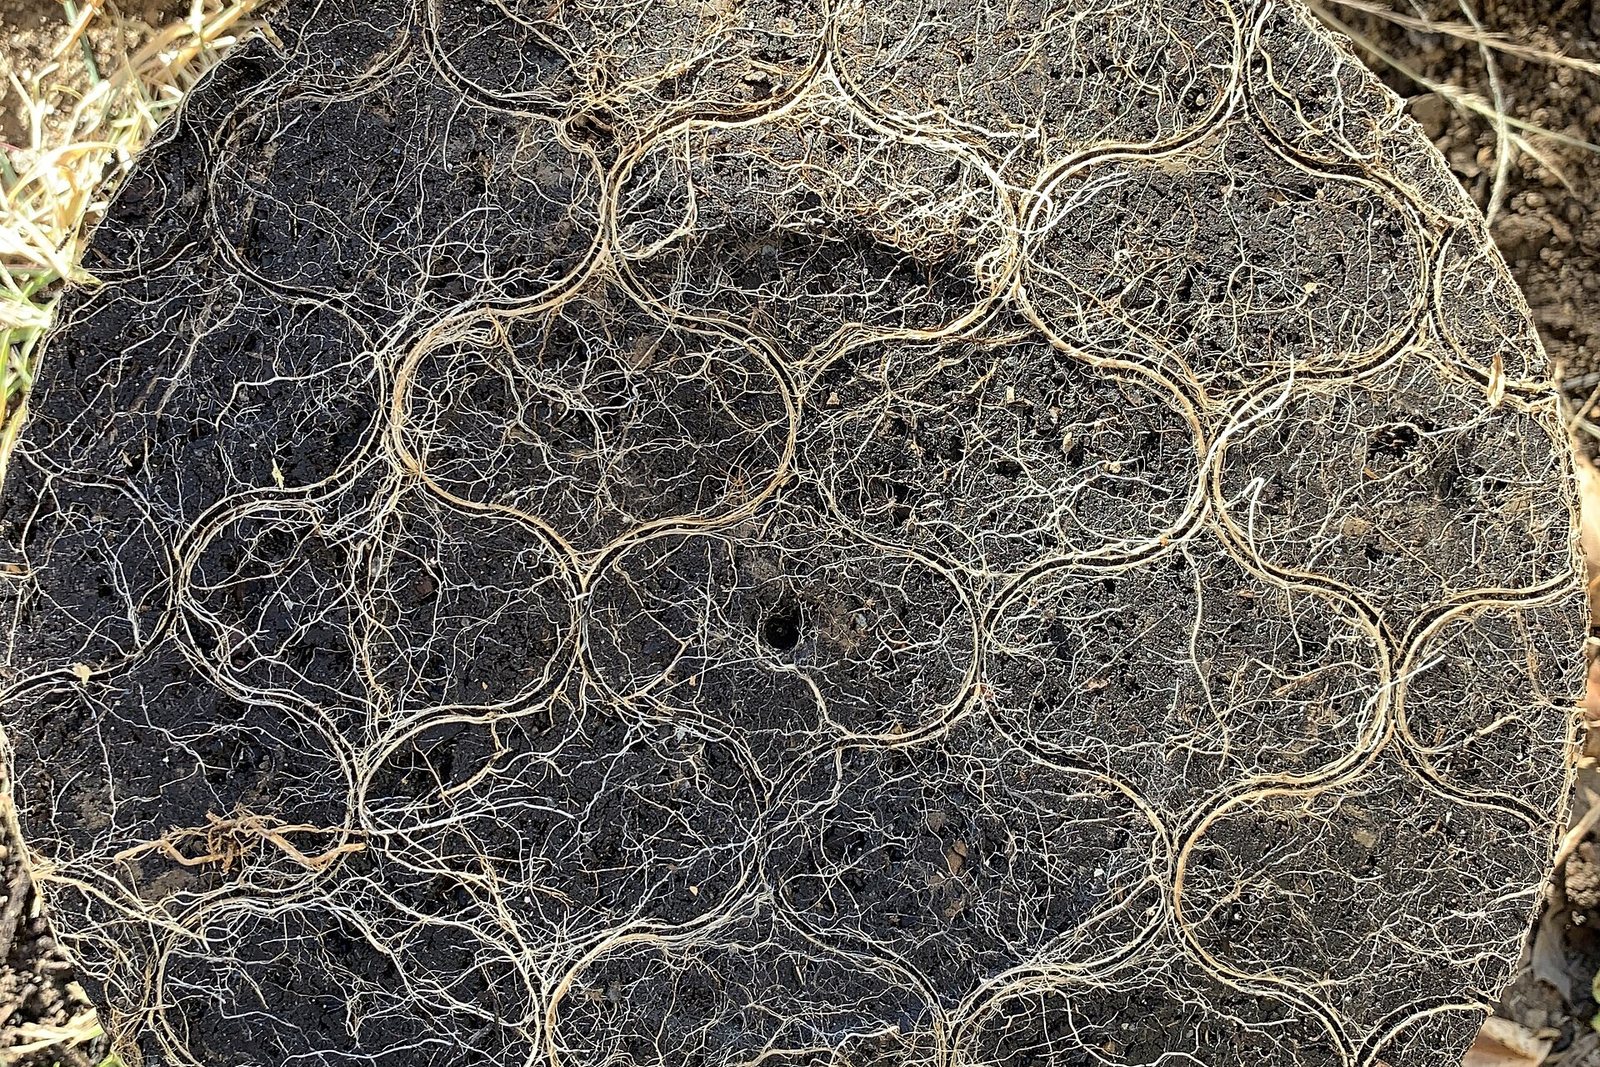
Look before you plant. Colorado State describes healthy roots as white and firm. Cut off any that are black and mushy with clean scissors; if many are, stop and follow our root rot rescue plan instead of simply moving the plant up a size. The RHS also suggests checking the compost for vine weevil larvae, small cream grubs with brown heads that feed on roots.
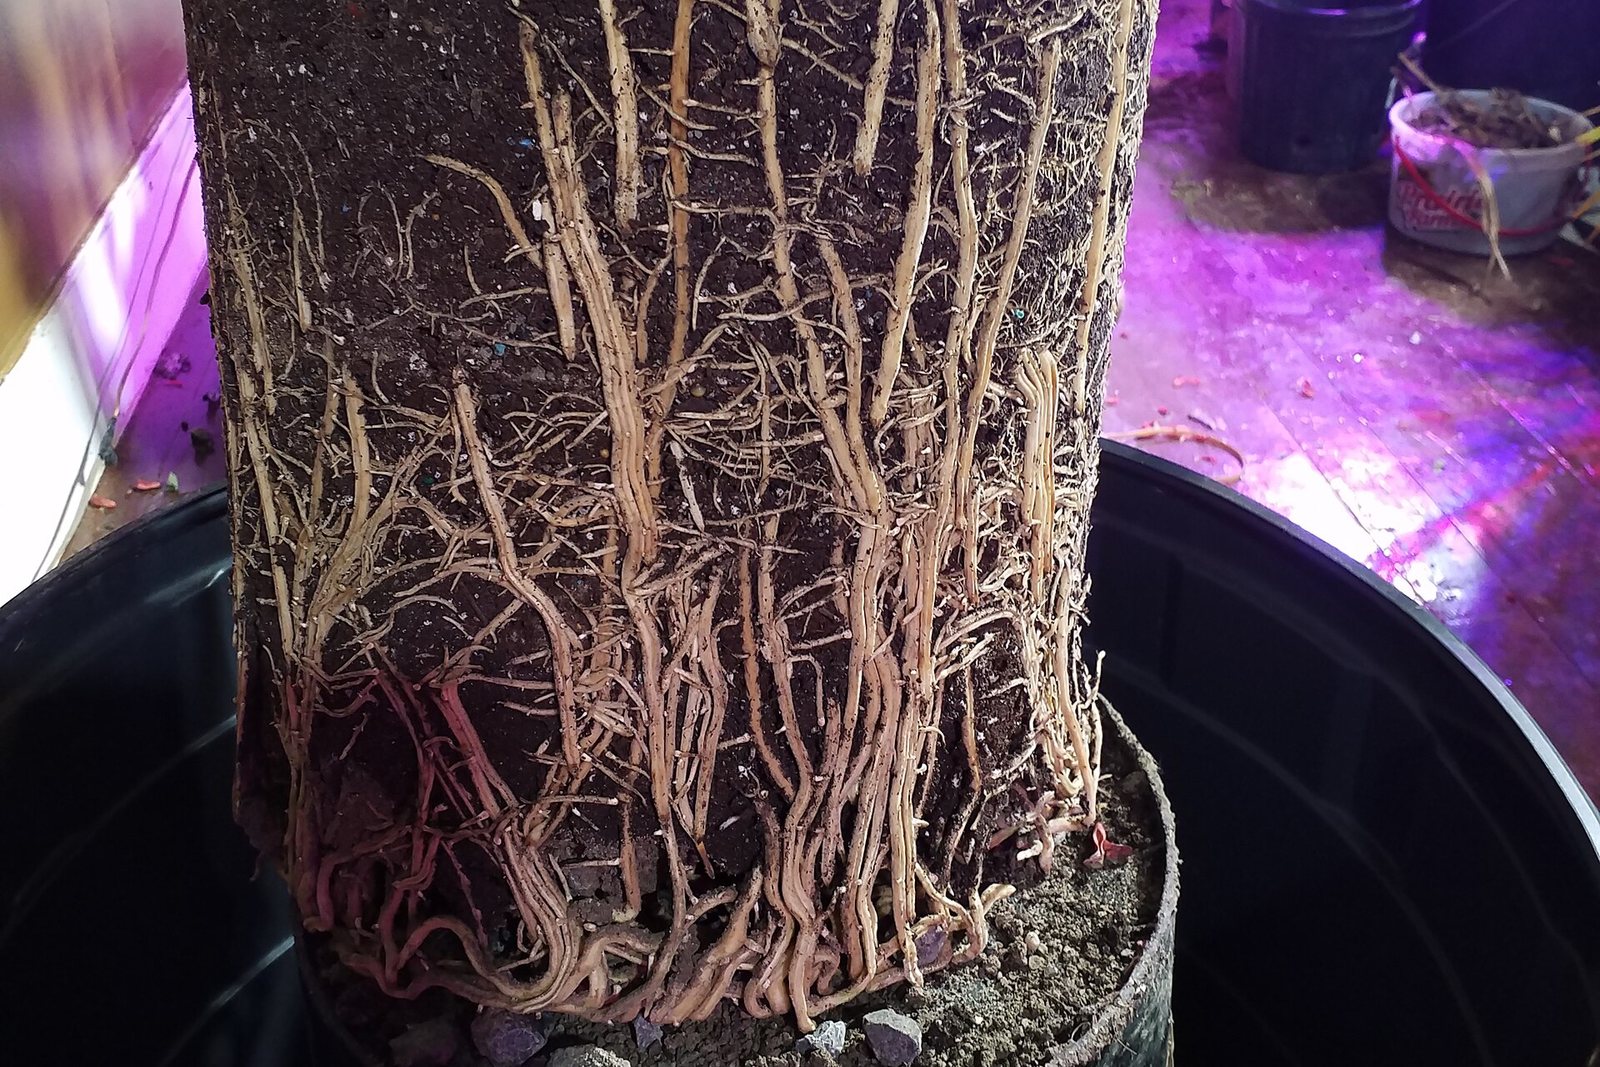
If roots circle the outside of the root ball, tease them outwards with your fingers so they grow into the new mix. When they are packed too tightly to loosen, make a few shallow vertical cuts down the sides with a sharp knife, as both Colorado State and Clemson recommend. Illinois Extension suggests scraping away the top 2.5 cm (1 in) of old compost if it carries a white crust of fertiliser salts.
Step 4: Set the depth and fill
Stand the plant on the base layer and check the height again. It should sit at the same depth it grew before: Clemson warns not to cover the root ball above its original soil line, and the RHS says not to pile compost against stems or trunks. Add or remove mix underneath until it is right.
Fill around the sides with fresh mix, working it into the gaps with your fingers. The sources differ slightly on firming: the RHS says to firm as you go to remove air pockets, while Clemson warns against packing the mix down and never to pack wet mix. In practice, press gently with your fingertips, then tap the pot on the bench a few times to settle it, as Colorado State describes. Stop when the mix is level with the top of the root ball, below the rim.
Step 5: Water it in
Water slowly until it runs from the drainage hole. Clemson suggests repeating this several times, especially with peat-based mixes, which are slow to take up water the first time. If the mix sinks in places, top it up to the level of the root ball. Empty the saucer once it has stopped draining. The RHS recommends rainwater where you can collect it.
What to do in the first weeks after repotting
Put the plant back in its usual spot so it only has one change to deal with. Colorado State advises keeping the mix moist but not overwatered. A larger pot of fresh mix dries at a different speed from the old one, so check with a finger before each watering instead of keeping to the old routine; our guide on how to water houseplants shows how. Most bagged mixes contain some fertiliser, so there is no need to feed straight away.
Flori can set a repotting reminder for each plant, so you check the roots again next spring rather than guessing. If a plant droops or yellows for more than a week or two after the move, describe it or send a photo to Dr. Flori for a likely cause and a recovery plan.
Special cases
- Cacti and succulents: handle spiny plants with thick gloves or a band of folded newspaper wrapped around them, and use a gritty mix (see the best soil for succulents and cacti).
- Keeping the same pot: for a plant that is as big as you want it, the RHS suggests trimming up to a quarter of the outermost roots and repotting into the same container with fresh compost.
- Too big to lift: Clemson suggests replacing the top 5–8 cm (2–3 in) of mix with fresh mix about every other year instead of repotting.
Frequently asked questions
Should I water a plant before repotting it?
Not just before. The RHS notes that a root ball comes out more easily when the compost is dry and has shrunk from the sides. Water thoroughly after repotting instead.
Should I put gravel in the bottom of the pot?
No. Clemson Extension says a gravel or crock layer slows water movement through the pot. Cover a large hole with a pot shard, landscape fabric or a coffee filter instead.
Is it OK to break up the roots when repotting?
Gently, yes. Tease circling roots outwards, and if they are too tight, make a few shallow cuts down the sides of the root ball with a sharp knife. Cut off any black, mushy roots.
How deep should I plant after repotting?
At the same depth the plant grew before, with the top of the root ball about 2.5 cm (1 in) below the rim. Do not bury the stem above its old soil line.
Sources
Written and fact-checked by the Flori team. Every guide cites horticultural sources such as the RHS, university extension services and the ASPCA, and is updated when the advice changes. How we write our guides
General plant care information. Plants vary; when a plant is valuable or a problem spreads quickly, consult a local nursery or plant specialist.