Find the Pest on Your Plant With Flori Lab Tools
Not sure which pest is on your plant? A two-minute inspection, a clue table and a clear photo for Flori's Lab pest analysis help you name it first.
 By Flori editorial team · Updated
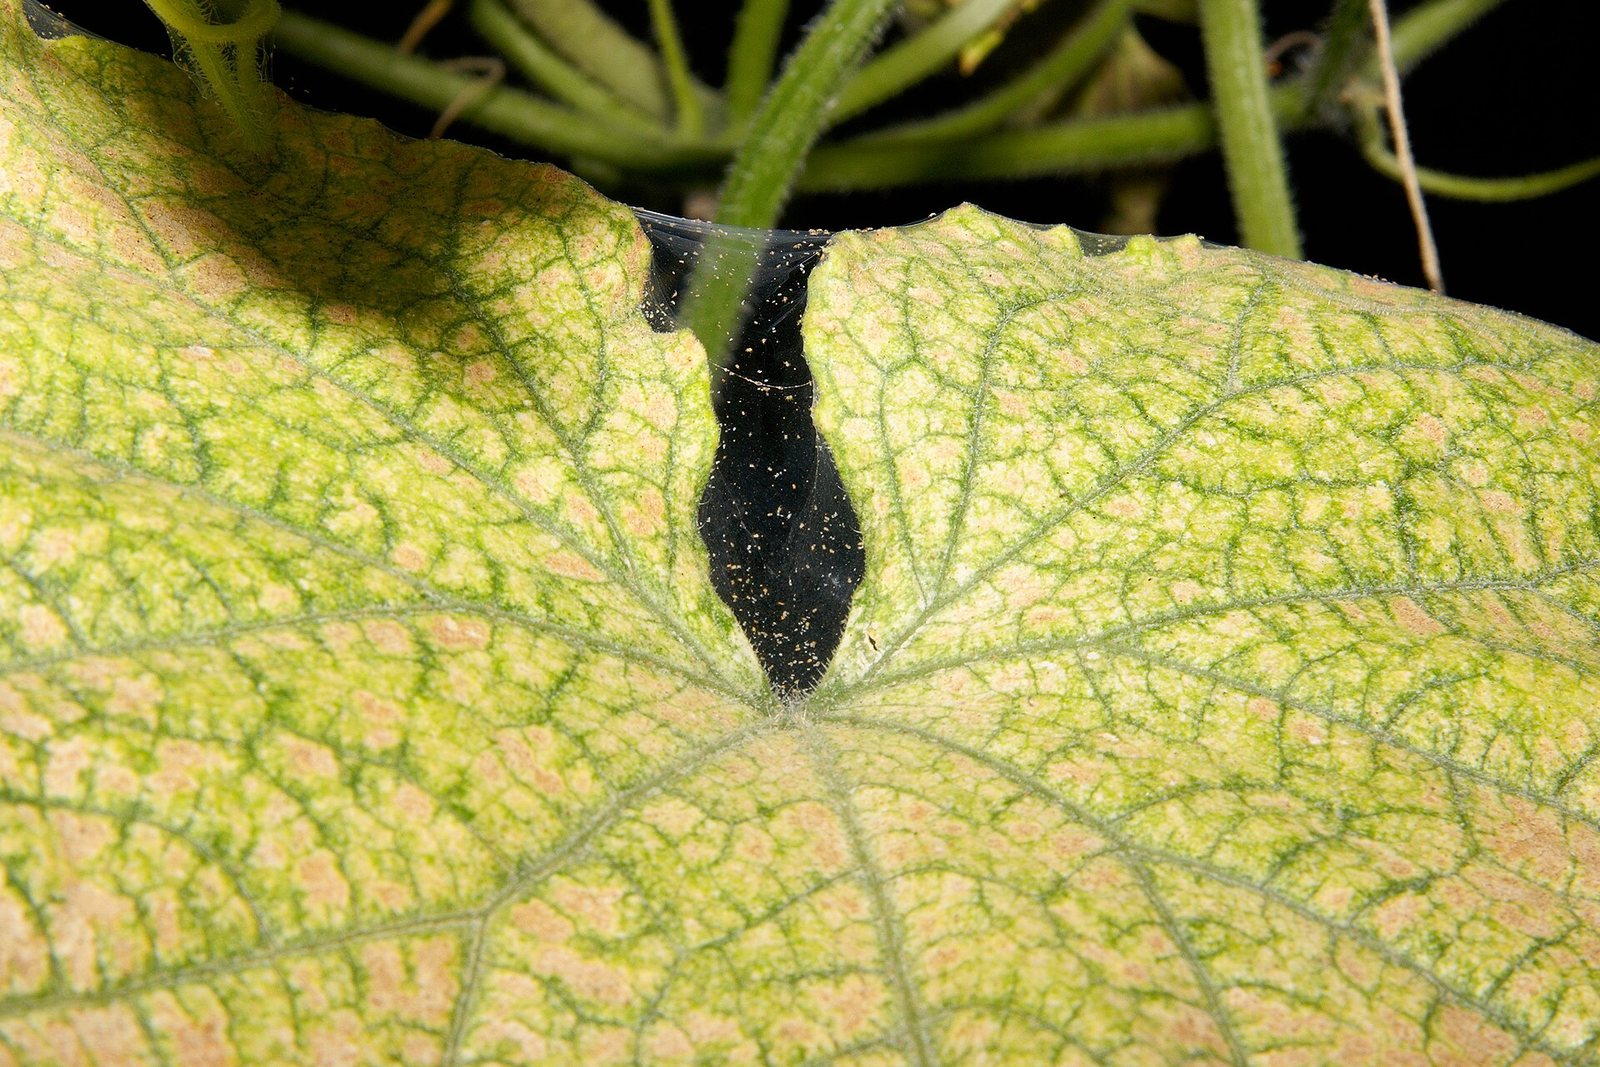
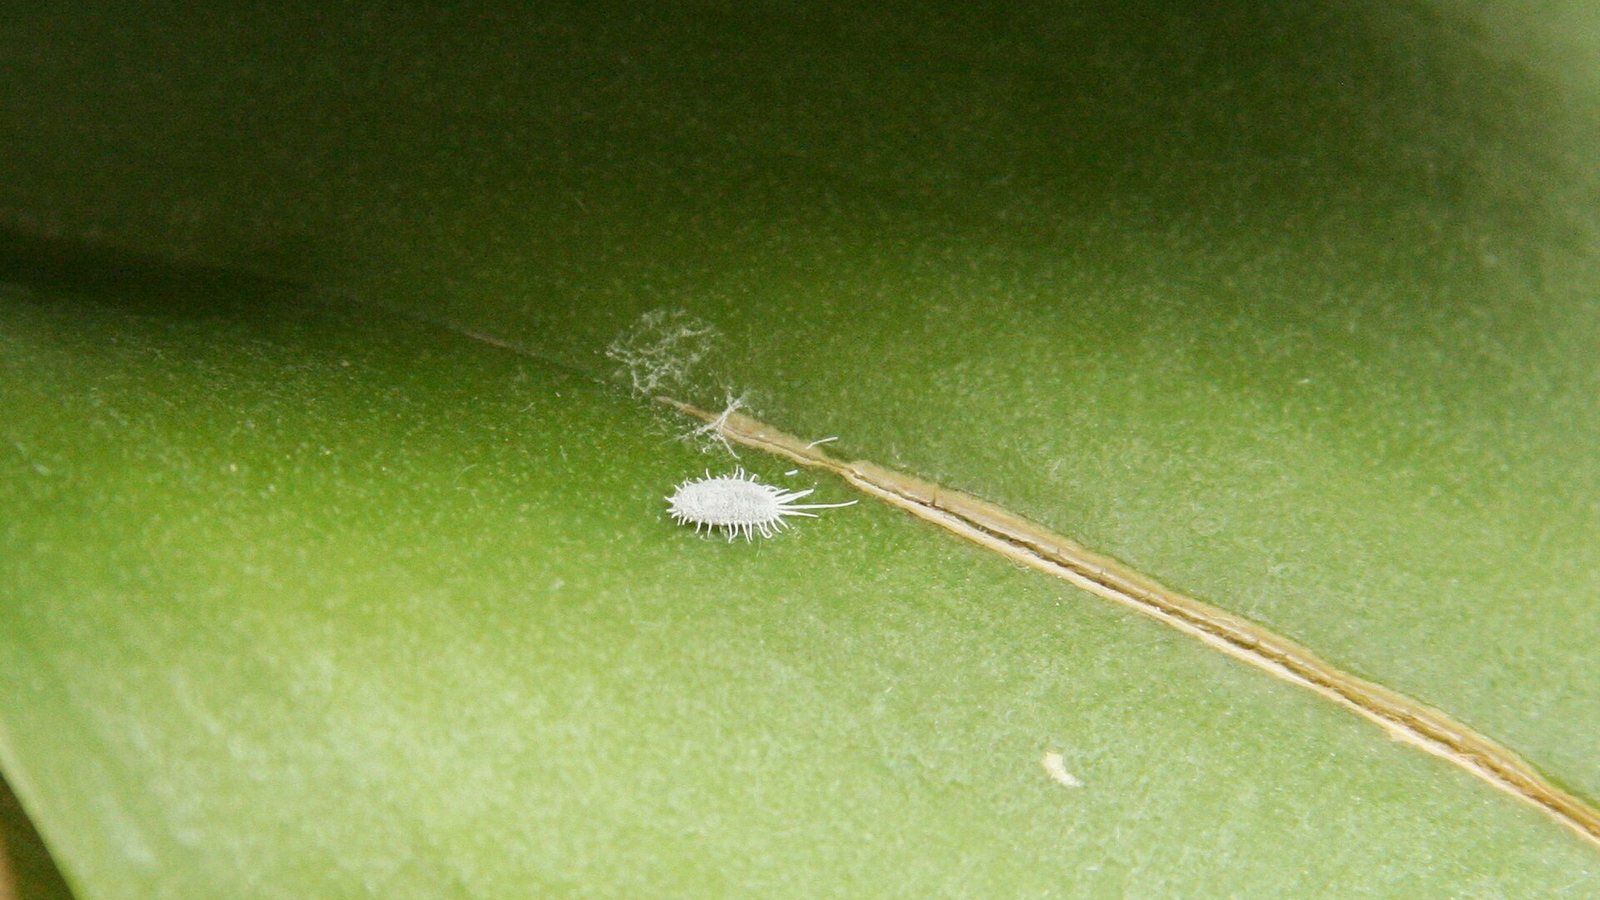 Photo: Maja Dumat from Deutschland (Germany) · CC BY 2.0
Inspect the leaf undersides, new growth, leaf joints and soil with good light, match what you see to the clue table, then photograph the pest and the damage up close. Flori's Lab pest analysis can look at that photo, and Dr. Flori's follow-up questions help you confirm it before you treat.
Key takeaways
- Identify before you treat: aphids, mealybugs, scale, mites, thrips and whiteflies each need a different approach.
- Check leaf undersides, new growth, leaf joints, the soil surface and the pot rim, in daylight and with a 10x lens if you have one.
- Sticky leaves point to aphids, mealybugs or scale; mites and thrips do not make honeydew.
- A sharp close-up of the pest, the damage and the whole plant gives photo analysis the best chance.
- Treat the app result as a lead to confirm on the plant, not a final verdict.
On this page7
Why find the pest before you spray?
Spraying the wrong product on the wrong pest wastes time and can harm the plant. Aphids, mealybugs, scale, spider mites, thrips and whiteflies all suck sap, all leave marks that look alike at first glance, and all need slightly different treatment. This guide gives you a routine for finding and naming the pest on your plant: a two-minute inspection, a table of clues, a photo that works for analysis, and how Flori's Lab pest analysis and Dr. Flori fit in. It does not repeat treatment steps; the pest guides linked below do that. If your problem is white insects, our guide to white bugs on plants goes deeper on that one.
Where should you look for pests?
Pests hide where they are hard to spot. University extension guides agree on the same places: leaf undersides, new growth, leaf joints and the soil. UC IPM advises checking leaf surfaces, leaf bases, flower stalks and roots, and looking in tight spots such as behind leaf bases and in leaflet folds. Clemson Cooperative Extension adds that a 10x magnifying lens makes small pests and immature stages visible, and that frass, webbing and sticky honeydew are signs of activity.
- Light. Use daylight or a bright lamp, not a dim room.
- Undersides. Turn over several leaves, including the oldest and the newest.
- Joints. Check where each leaf meets the stem, and along the main veins.
- New growth and buds. Aphids and thrips gather there.
- Soil and pot rim. Look for small flies and larvae. For roots, UC IPM says you can slip the plant out of its pot.
What are the clues? A pest-finder table
| What you see | Where | Likely pest | Quick check |
|---|---|---|---|
| Soft clusters, often green, with distorted new growth and sticky leaves | New shoots, buds, leaf undersides | Aphids | Look for white cast skins; a lens helps (RHS, Clemson) |
| Cottony white tufts | Leaf joints, undersides, stems | Mealybugs | Lift the waxy covering to see insects or eggs (RHS) |
| Brown or tan bumps that do not move | Stems, along leaf veins | Scale | Scrape with a fingernail; the covering lifts off (Clemson) |
| Fine pale stippling, sometimes silk webbing | Upper leaf surface, undersides | Spider mites | Use a 10x lens; webbing confirms (UC IPM, RHS) |
| Silvery or dull patches and shiny black dots | Leaves, flowers | Thrips | Blow lightly on the leaf; slender insects scatter (Clemson) |
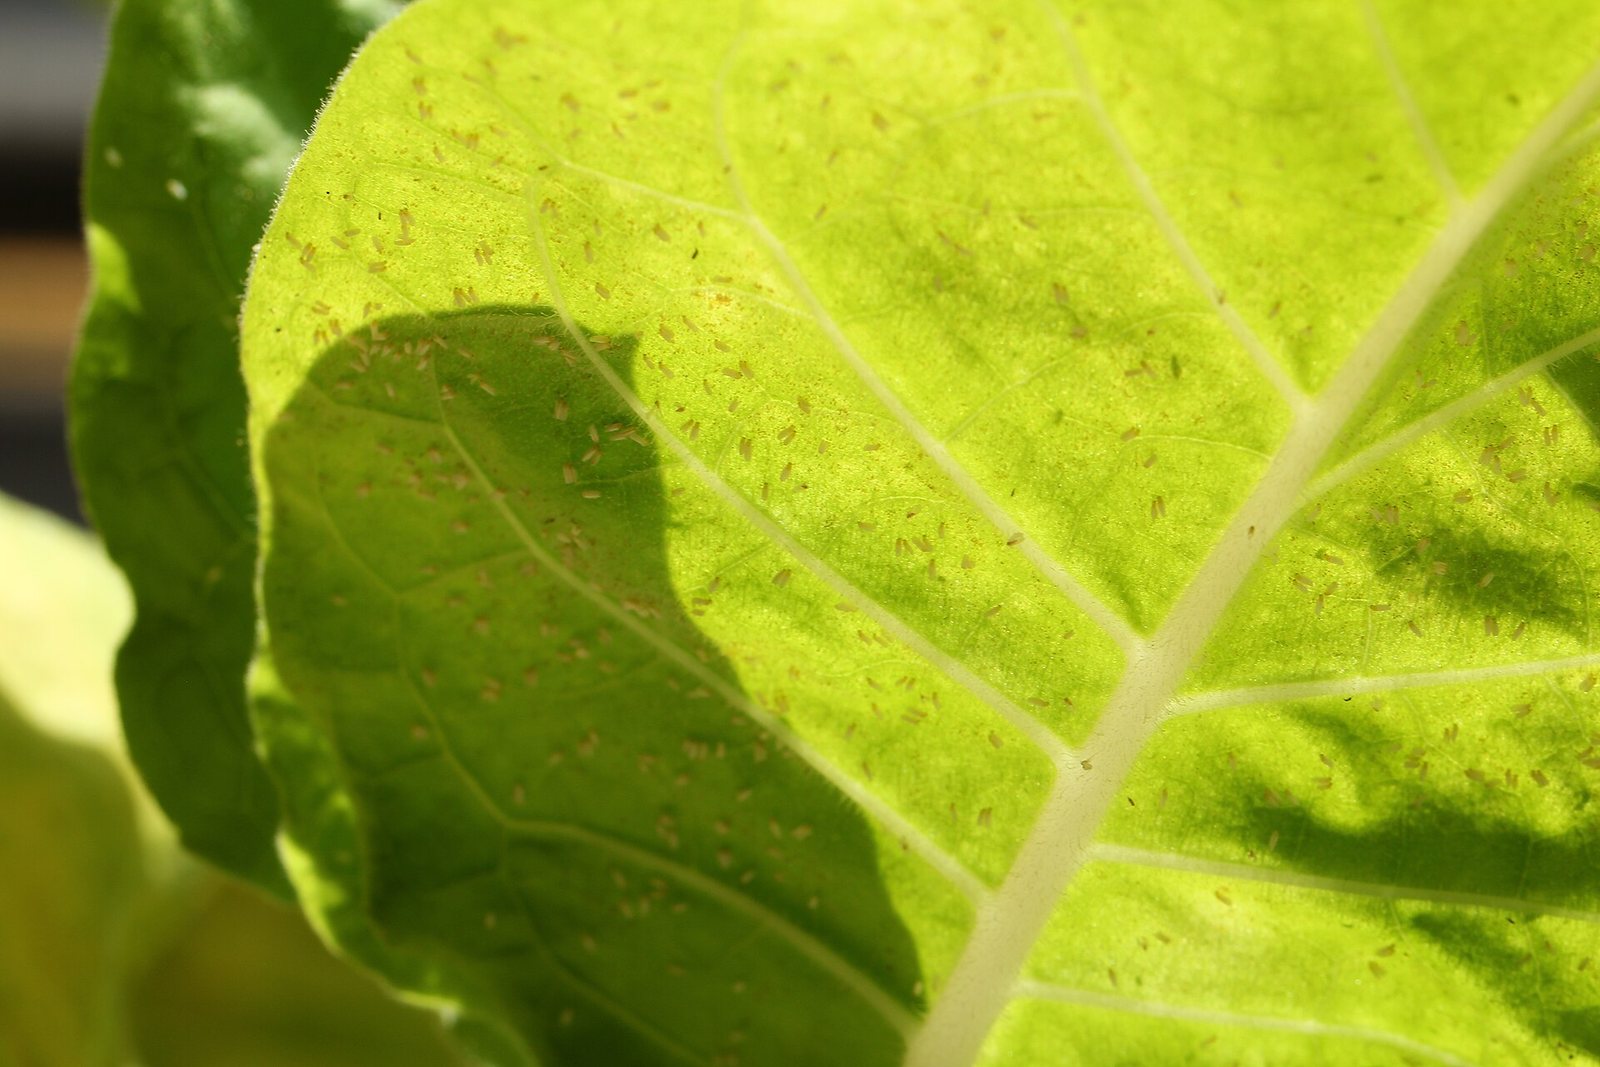
| Tiny white insects that flutter up | Leaf undersides | Whiteflies | Disturb the plant; adults rise and resettle (Clemson) |
| Small dark flies near the soil | Soil surface | Fungus gnats | Yellow sticky trap; larvae are whitish with black heads (UC IPM) |
One clue sorts many cases: honeydew. The RHS says aphids, scale insects and mealybugs excrete sticky honeydew, and sooty mould (a black or brown film) grows on it. Thrips and mites do not make honeydew. Sticky leaves with no visible insect on top still point to a pest hiding underneath.
How do you take a photo that works?
A good photo helps both you and any photo-based tool. Take three shots. First, the whole plant, so the shape and leaf type show. Second, the damage: a leaf with its symptom in sharp focus, in daylight, without a flash glare. Third, the pest itself: a close-up of one spot, ideally on a leaf underside or at a leaf joint, with your phone steady and the insect large in the frame. Add a fourth shot of the soil surface if you have seen flies. Our guide to diagnosing plant disease from a photo covers the shots in more detail.
How do Flori Lab tools help?
Flori's Lab has tools for pest analysis (and soil checks). Send the close-up photos from the step above and the pest analysis looks at them. Treat the answer as a lead: use it to decide what to check next with a lens, then confirm on the plant using the table. The app is not a replacement for looking, because a photo cannot show a pest that is hiding under a leaf.
If the cause is still unclear, move on to Dr. Flori, the diagnosis chat. It works from a photo or a description, asks follow-up questions, names the likely cause, says how urgent it is and gives a recovery plan. How Dr. Flori diagnoses plants explains the steps. For a plant you want to keep under watch, the Plant Hospital holds a follow-up plan, as described in our Plant Hospital guide. Free accounts have a monthly limit on diagnoses, so check the plan details in the app.
Could it not be a pest at all?
Yes, often. UC IPM notes that yellowing, wilting and brown tips are frequently caused by overwatering, low light or low humidity, and that mite injury can look like chemical injury, which is why mites are sometimes misidentified. If you find no insects on any leaf underside, joint or soil surface after two careful checks, look at watering and light before buying a spray. Our guide to spider mites shows how to tell their stippling from other damage.
What should you do once you know?
- Isolate the plant. UC IPM advises separating an infested plant right away to protect the others, and washing your hands after handling it.
- Re-inspect weekly. Clemson suggests checking isolated plants about once a week for six weeks, focusing on leaf undersides and new growth.
- Start gentle. Rinsing, wiping and removing pests by hand come first; see our natural pest prevention guide. If you use soap, oil or any other product, check that it is labelled for houseplants and follow the label exactly.
- Protect pets and children. Keep them away until any spray has dried.
- Quarantine newcomers. UC IPM recommends inspecting new plants weekly for several weeks before they join the rest.
- Keep notes. Write down the date, the plant and what you saw, and photograph the same leaf again after a few days. A change in numbers tells you whether the plan is working.
Frequently asked questions
What is the quickest way to tell which pest is on my plant?
Check leaf undersides and joints in daylight with a 10x lens. Cottony tufts mean mealybugs, fixed bumps mean scale, fine webbing means spider mites, and flying specks mean whiteflies or thrips.
Can Flori identify a pest from a photo?
Flori's Lab tools include pest analysis that works from a photo, and Dr. Flori can diagnose from a photo or description. Use the result as a lead and confirm it on the plant.
Why are my leaves sticky but I see no bugs?
Sticky honeydew comes from aphids, scale insects or mealybugs, which may be hiding on the undersides, along the veins or at leaf joints. Look closely with a lens.
How long should I keep checking after treatment?
Clemson suggests inspecting an isolated plant about once a week for six weeks, concentrating on leaf undersides and new growth.
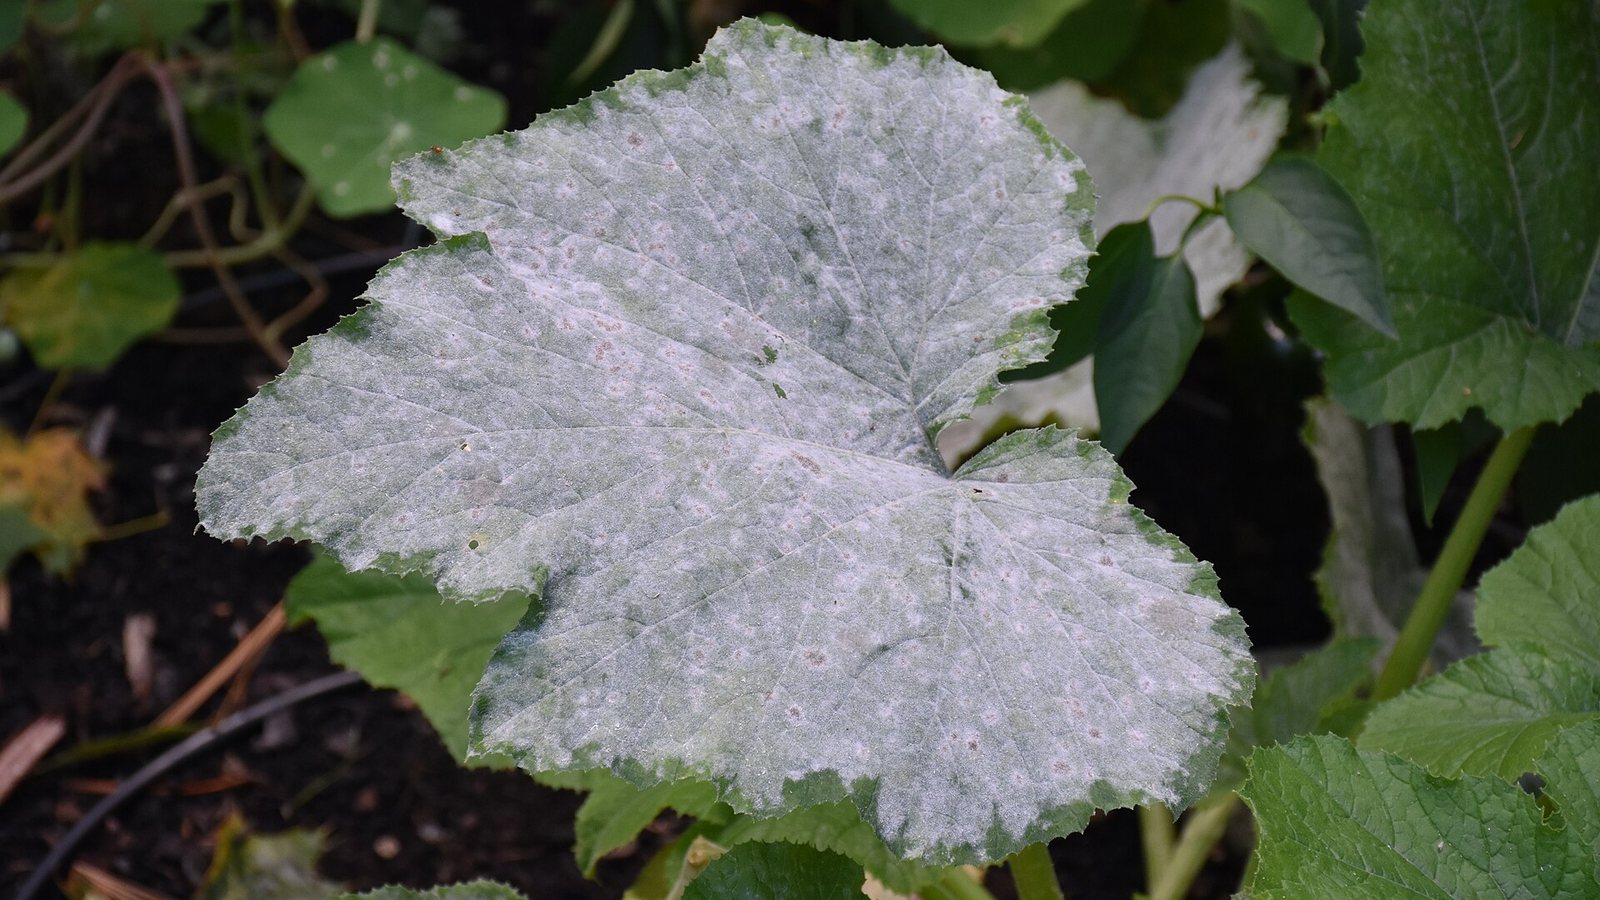
How Dr. Flori diagnoses plant problems: what to send, why it asks follow-up questions, how to read the likely cause and urgency, and what comes next.
Sources
Written and fact-checked by the Flori team. Every guide cites horticultural sources such as the RHS, university extension services and the ASPCA, and is updated when the advice changes. How we write our guides
General plant care information. Plants vary; when a plant is valuable or a problem spreads quickly, consult a local nursery or plant specialist.